Resin Art
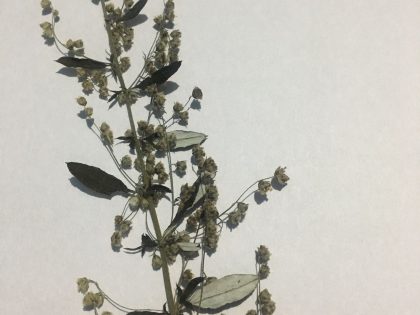
Resin art is a great way to preserve dry flowers and grass. There are plenty of things that can be crafted using dry flower heads in resin. This can include trays, studs, coasters, pendants, keychains, paperweights, and showpieces etc. You can get plenty of video tutorials online on each of them.
How to Use Dried Flowers for Resin Art ?
Elevate your resin art with the beauty of dried flowers. This guide will show you how to use them in your next project. If you’re looking to add a touch of natural beauty to your resin art, dried flowers can be a great option. Whether you’re creating jewelry, coasters, or other decorative pieces, incorporating dried flowers can add texture, color, and a unique touch to your creations. In this guide, we’ll explore how to use dried flowers in your resin art projects.
Choose the right type of dried flowers
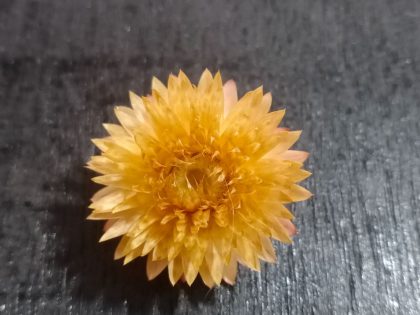
When it comes to using dried flowers in resin art, it’s important to choose the right type of flowers. Look for flowers that are fully dried and have a low moisture content, as this will prevent them from rotting or molding in the resin. Some popular options include lavender, rose petals, and baby’s breath. Avoid using flowers with thick stems or large petals, as these can create air pockets in the resin and affect the overall look of your piece.
Prepare your flowers for resin
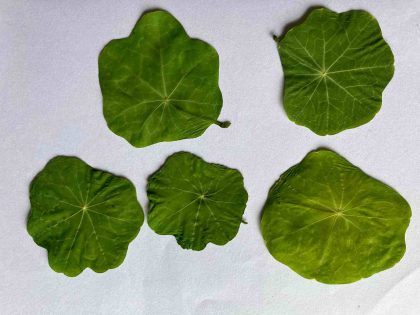
Before using dried flowers in resin art, it’s important to prepare them properly. Start by gently cleaning the flowers with a soft brush or cloth to remove any dirt or debris. Then, trim the stems and petals to the desired size and shape. If you want to preserve the color of the flowers, you can also spray them with a clear acrylic sealer before adding them to the resin. Finally, arrange the flowers in the mold or on the surface of your resin piece, making sure to leave enough space between them to allow the resin to flow around them.
Arrange your flowers in your resin mold
Once you have prepared your dried flowers, it’s time to arrange them in your resin mold. This is where your creativity can really shine! You can create a simple, symmetrical design or go for a more abstract, organic look. Just make sure to leave enough space between the flowers to allow the resin to flow around them. You can also experiment with layering different types of flowers or adding other elements like glitter or beads. Once you are happy with your arrangement, pour the resin over the top and let it cure according to the manufacturer’s instructions. When it’s fully cured, you’ll have a beautiful, one-of-a-kind piece of resin art that incorporates the natural beauty of dried flowers.
Pour the resin over the flowers
After you have arranged your dried flowers in the resin mold, it’s time to pour the resin over them. Make sure to pour slowly and evenly to avoid disturbing the flowers. You may need to use a toothpick or small tool to gently push the flowers down into the resin if they start to float to the surface. Once the resin is poured, you can use a heat gun or torch to remove any air bubbles that may have formed. Be careful not to hold the heat source too close to the resin or the flowers, as this can cause them to burn or discolor. Allow the resin to cure completely before removing it from the mold and displaying your beautiful creation.
Let the resin cure and enjoy your beautiful creation
Once you have poured the resin and removed any air bubbles, it’s important to let it cure completely before removing it from the mold. This can take anywhere from 24 to 72 hours, depending on the type of resin you are using and the temperature and humidity of your workspace. Once the resin is fully cured, you can remove it from the mold and admire your beautiful creation. Dried flowers add a unique and natural touch to resin art, and with a little practice, you can create stunning pieces that will be the envy of all your friends.