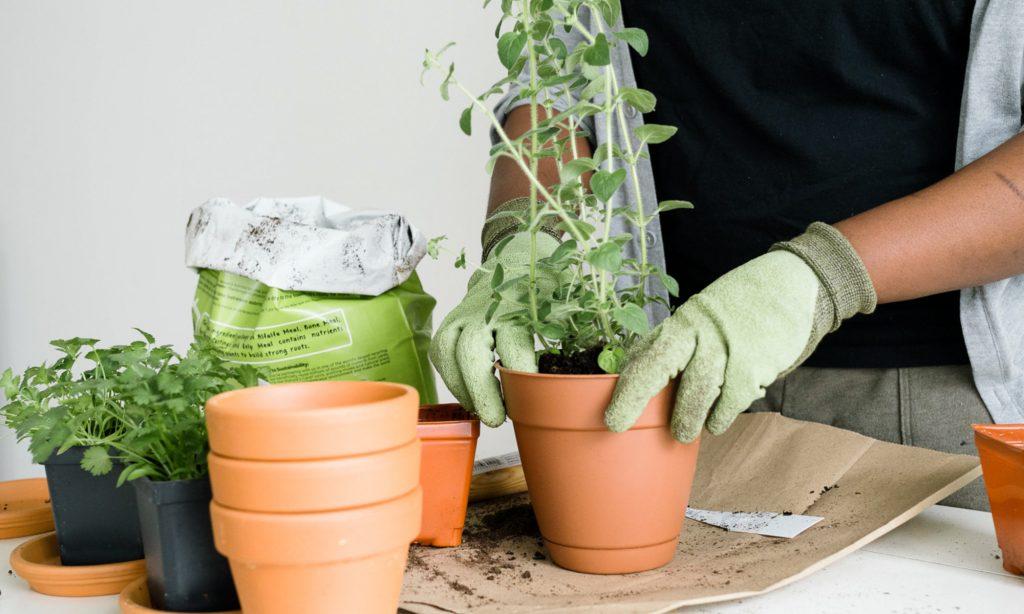
Repotting your plant as they grow is an important part of being a plant parent. The process is usually easy but if not done correctly it might kill your plant. In this article, you’ll learn about the easiest way to repot your plant so that it doesn’t harm the plant in any way.

When to Re-pot a plant?
You don’t need to re-pot a plant as soon as you buy it. A plant needs a re-pot only when the roots outgrow the pot. It usually happens around 1-2 years when the roots grow to the fullest. This means you need to repot your plant every 2-3 years.
Why Re-pot a plant?
Repotting is an important part of plant care, as it helps to ensure the health and longevity of the plant. Here are some reasons why repotting a plant is necessary.
Repotting plants is necessary for several reasons:
- Root Growth: As plants grow, their roots can become cramped and overcrowded in their current pot. Repotting into a larger pot allows the roots to expand and gives the plant more room to grow.
- Soil Changes: Over time, the nutrients in the soil can become depleted, and the soil structure can break down, making it less effective at retaining water and nutrients. Repotting into fresh soil can provide the plant with the nutrients it needs to continue growing and thriving.
- Control Pests and Diseases: Repotting can also help to control pests and diseases. When a plant is repotted, the old soil can be discarded, taking any pests or diseases with it.
- Improve Drainage: If the soil in a pot becomes compacted, water may not drain properly, leading to root rot. Repotting into a pot with fresh soil or with better drainage can help prevent this problem.
How to Re-pot a Plant?
- Choose a new pot that is larger in size than the current one and has proper drainage holes.
- Fill the bottom of the pot with a layer of well-draining potting soil.
- Gently remove the plant from its current pot and loosen any tangled roots.
- Place the plant in the new pot and add more potting soil around it, firmly tamping it down to eliminate air pockets.
- Water the plant thoroughly and place it in a location with proper lighting and temperature for its species.
- Monitor the plant for a few days to ensure it’s adjusting well to its new pot and soil.
